YOU WILL LEARN
✓
Make one tag page, as a copy of your list page
✓
Give each tag an address, and choose that design
✓
Publish a tagged post, and it joins its page
When your blog grows, readers want everything on one topic in one place. A tag page gives them that, without you building a page for each topic. You make one design, and every tag with an address opens with it.
In the screenshots, Petal Street, a flower studio in Pune, makes a page for its Flower care posts and one for its Weddings posts.
Your posts, by topic
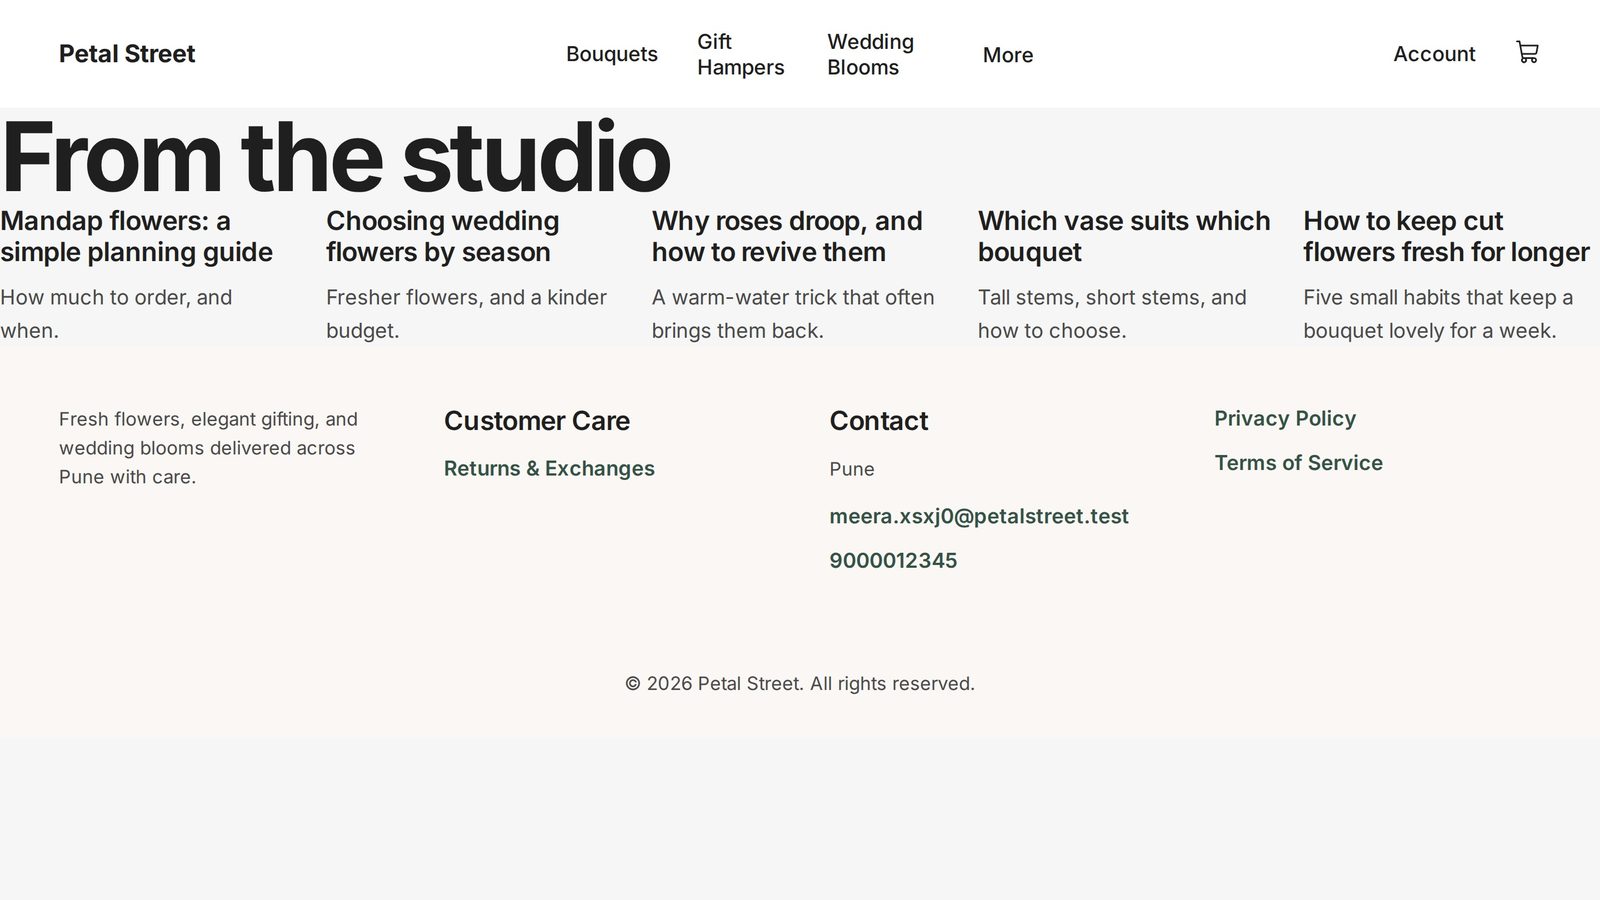
Petal Street's Journal page lists all its posts, about flower care and about weddings, mixed together. This list was set up on the site before the video started.
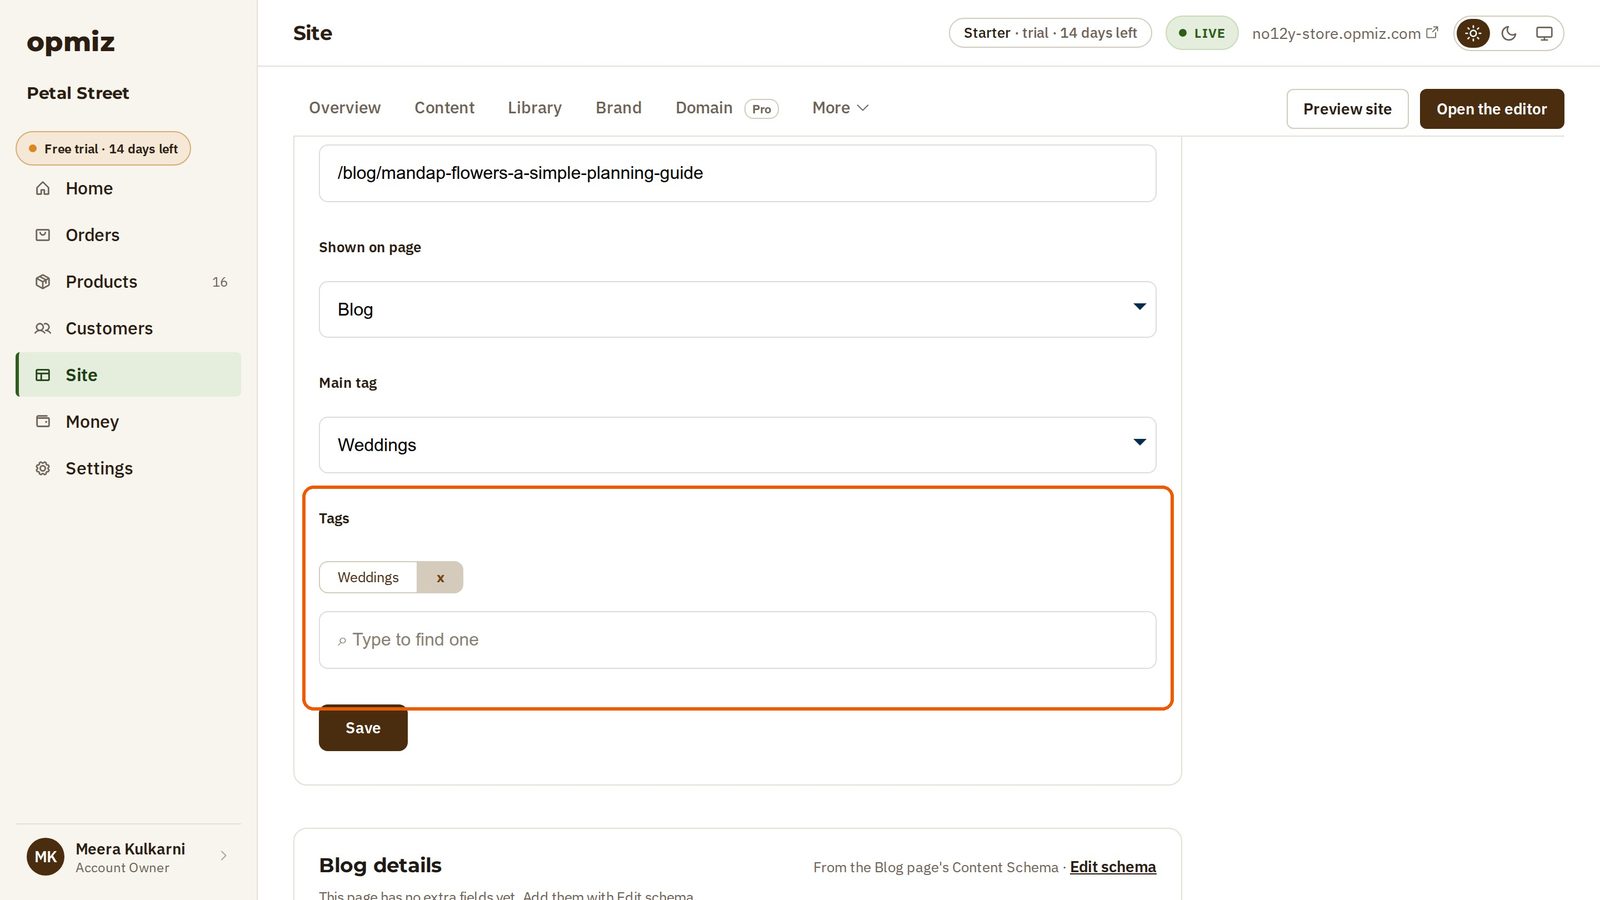
A tag is a label on a post. To see a post's tags, open Site, then Content, open Blog and open a post.
In Tags, you type the topic and pick it. In the video, each post is already tagged Flower care or Weddings.
Make one tag page
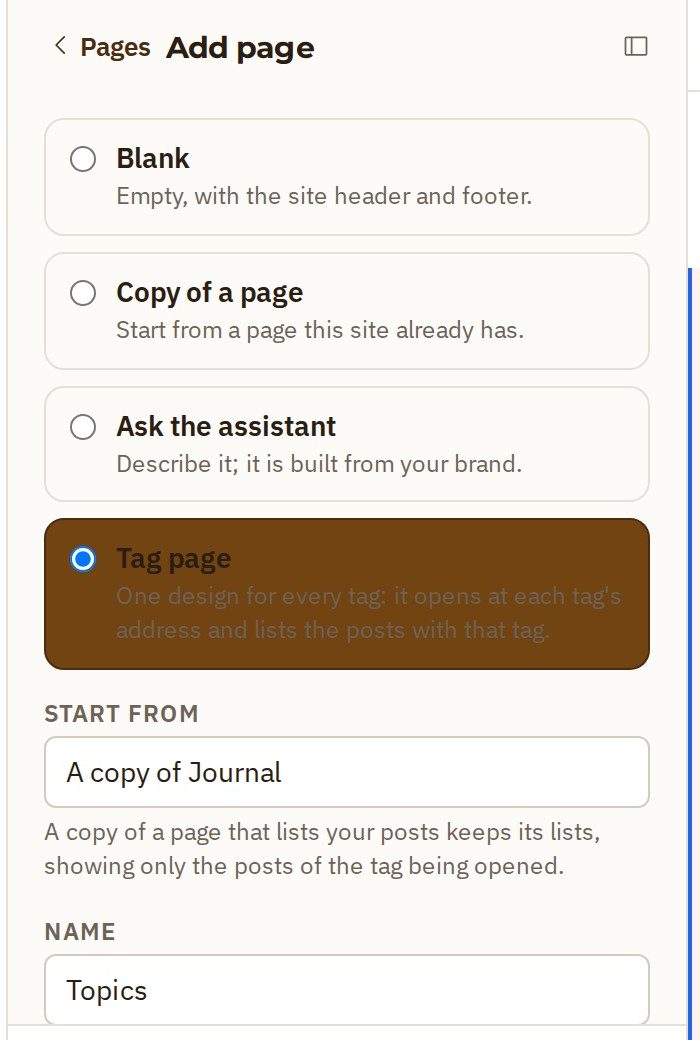
- Open the editor. Open Pages and press + Add page.
- Choose Tag page. It is one design that every tag uses.
- Under Start from, choose a copy of your list page. In the video it is A copy of Journal. A copy keeps the list, and shows only the posts of the tag being opened.
- Under Name, call it Topics, and add the page.
A tag page has no address of its own. Each tag gets its address in the next step.
In the editor, the new page's list looks empty, because no tag is open yet. In the video, its heading was also set to show the tag's name.
- Press Publish, then confirm, so the design goes live.
Give a tag its address
- Your tags are in Site, under Content tags. Press Edit next to Flower care.
- In Page address, give it a short address, the way you'd say it. In the video it is /flower-care.
- In Tag page design, pick Topics. Only tag pages are offered here.
- Save. The change is live straight away.
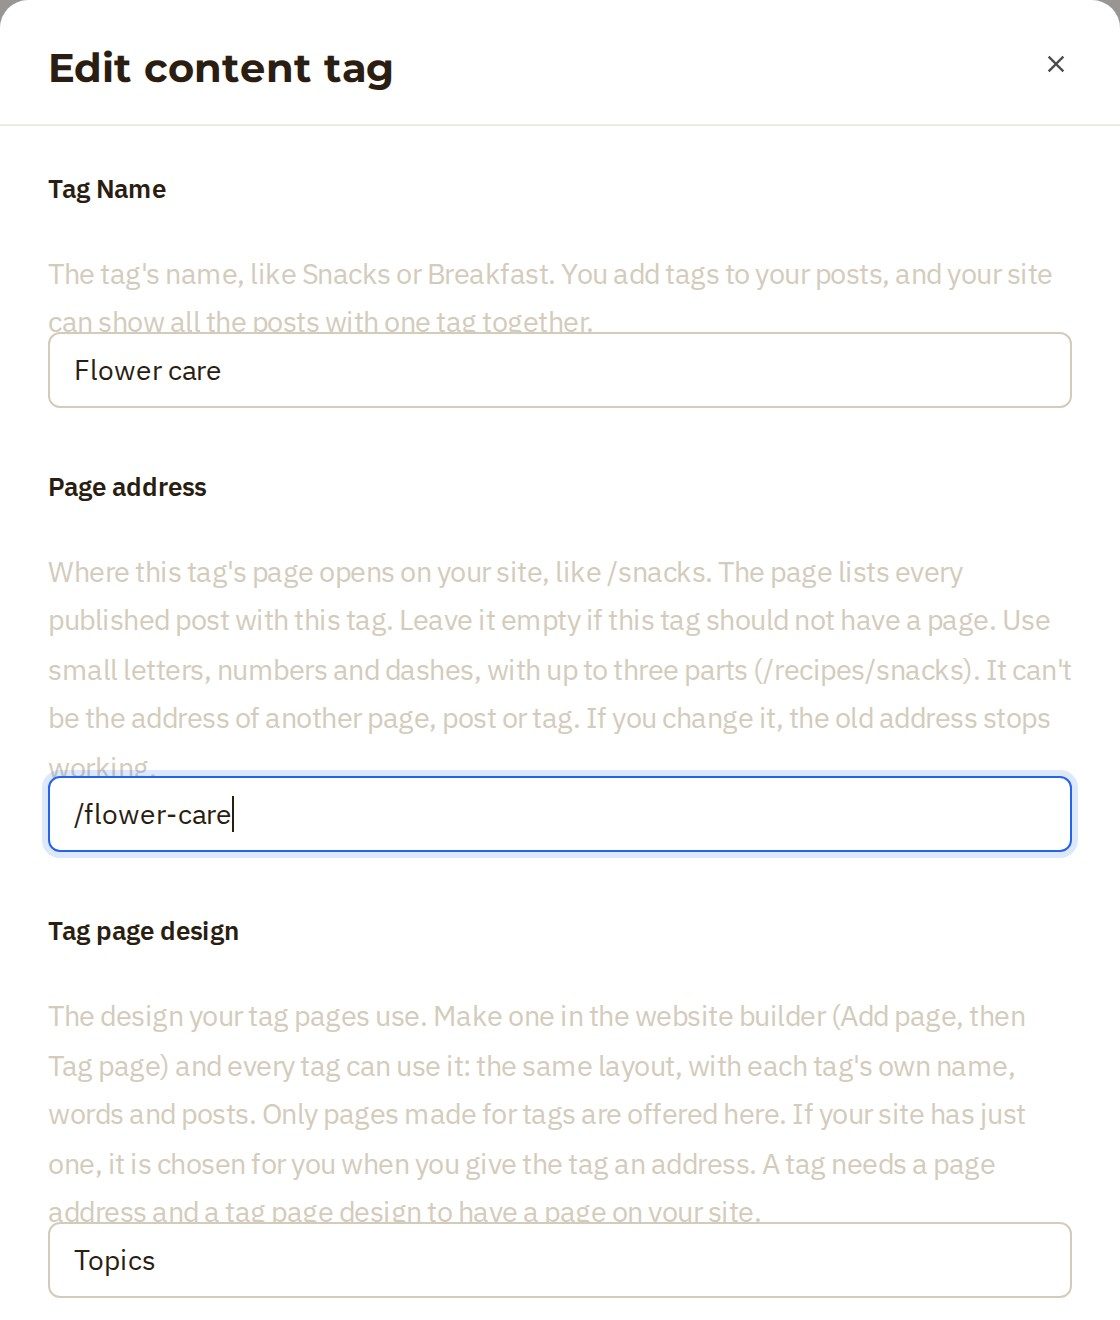
Do the same for your other tags. In the video, Weddings gets its own address too: one design, two addresses.
See a topic page
Open the address on your site. /flower-care shows the Flower care posts, and nothing else. It is a page you can share, and link from your menu.
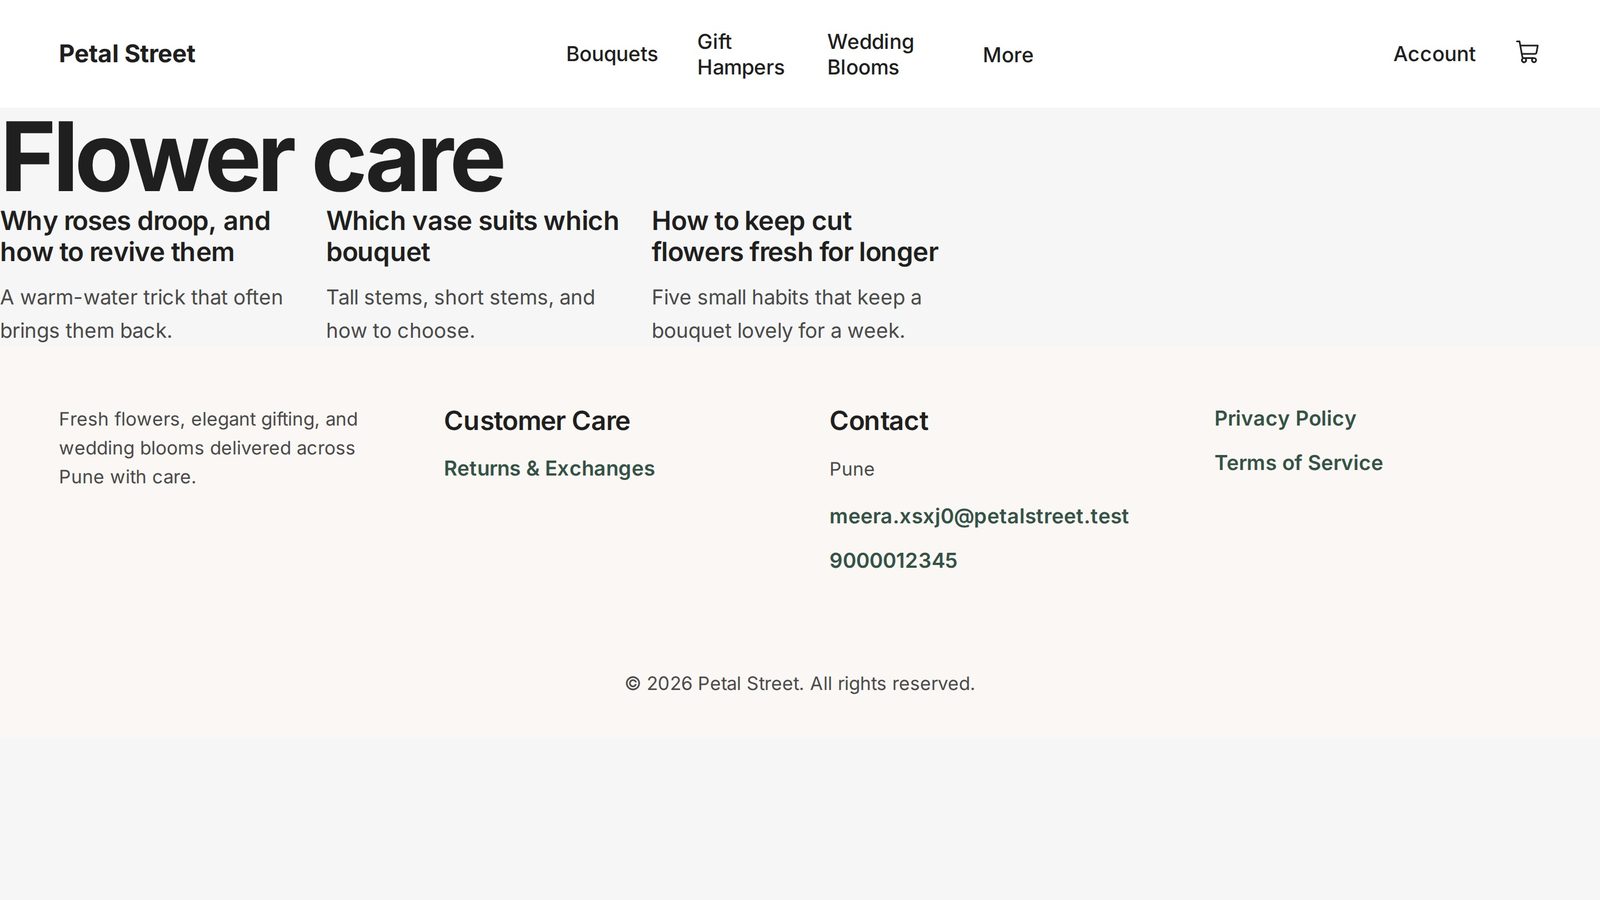
The Weddings address shows its own posts, from the same design. When you tag a new post and publish it, it is added to its tag's page.
Readers find a whole topic in one place, and you keep just one design.
Was this tutorial helpful?
AI websites with native commerce. Pages, blog, store, payments and GST invoices in one place, built from a short description.
Start free for 14 days →© 2026 Opmiz · WriterBabu Online Services Private Limited. All rights reserved.
Prices in INR, before 18% GST · Made in Patna, India