YOU WILL LEARN
✓
Layers shows the sections on your page
✓
Add, then Section, for a ready-made one
✓
The three dots hold Move and Delete
A page on your website is a stack of sections, one under the other. You can add a ready-made section in your brand's own style, move it up or down, and take out one you don't need. Nothing changes for your visitors until you publish.
In the screenshots, Petal Street, a flower studio in Pune, adds customer quotes to its Wedding Flowers page.
See the sections on your page
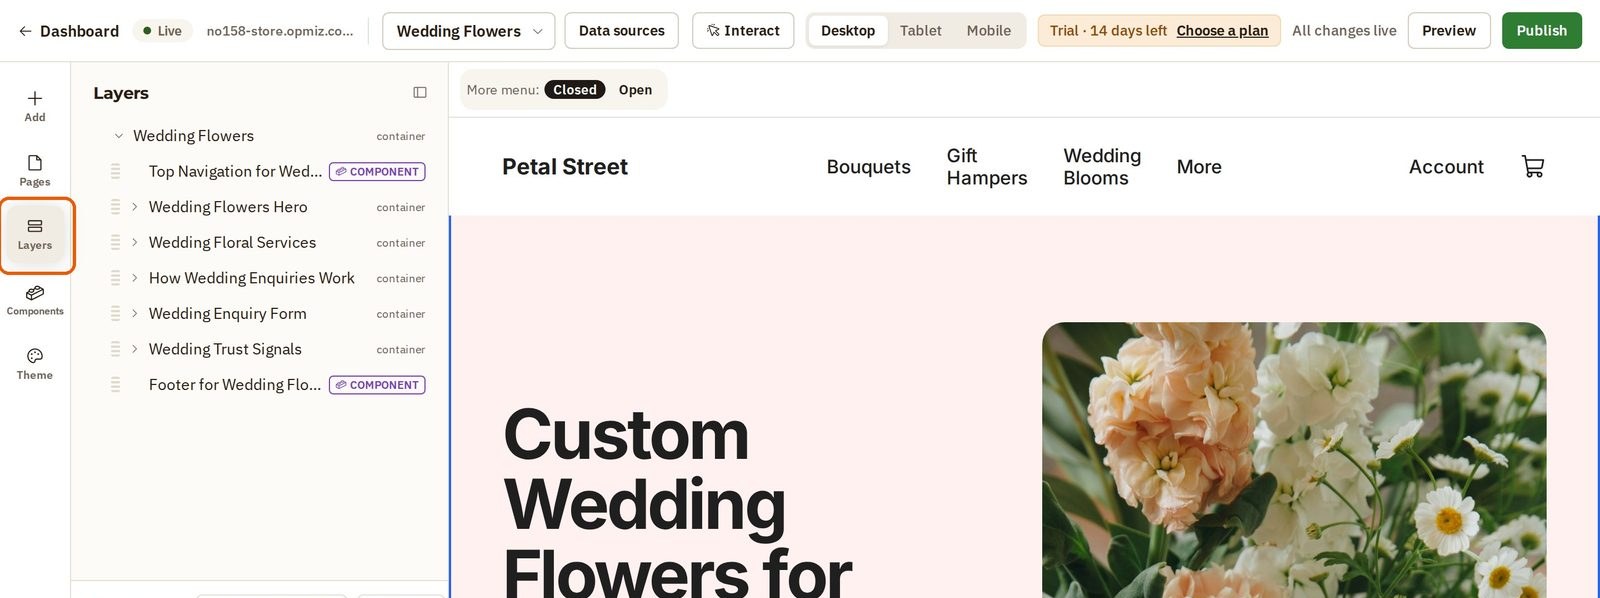
Open the page in the website builder, then press Layers on the left. Your page becomes a list. Each row is one section, from the top of the page to the bottom.
Add a section
A new section goes right after the one you have selected, so choose its place first.
- In Layers, click the section the new one should follow. Here it is Wedding Flowers Hero.
- Press Add on the left, and choose Section.
- Pick one of the ready-made sections. They are already in your brand's own style. Petal Street picks Testimonials, three customer quotes.
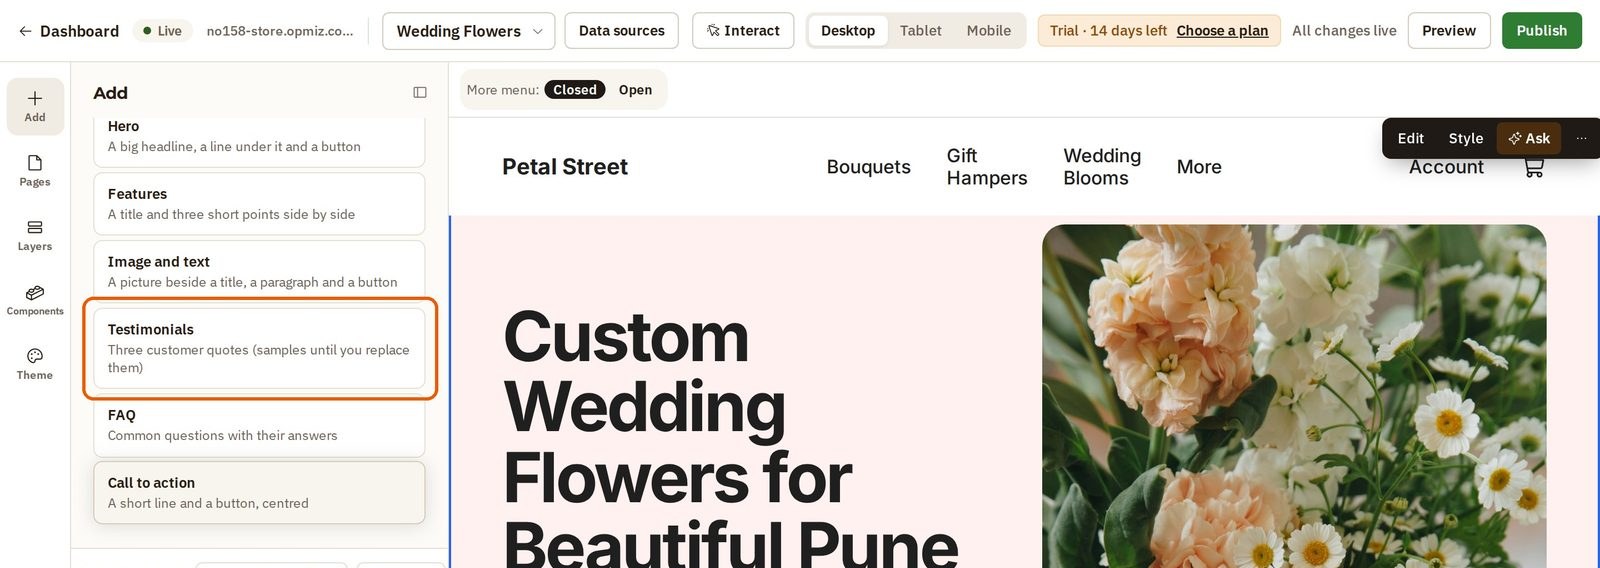
The new section appears straight after the one you selected. Its quotes are samples, as they say. Replace them with words your real customers have said: click any of them to change it.
Move it into place
Petal Street would rather visitors see its services first, so the quotes move one step down.
- Select the section.
- Press the three dots (⋯) on the section's toolbar. They hold the rest of what you can do with a section.
- Press Move down. The section moves one step down the page. Move up moves it one step up.
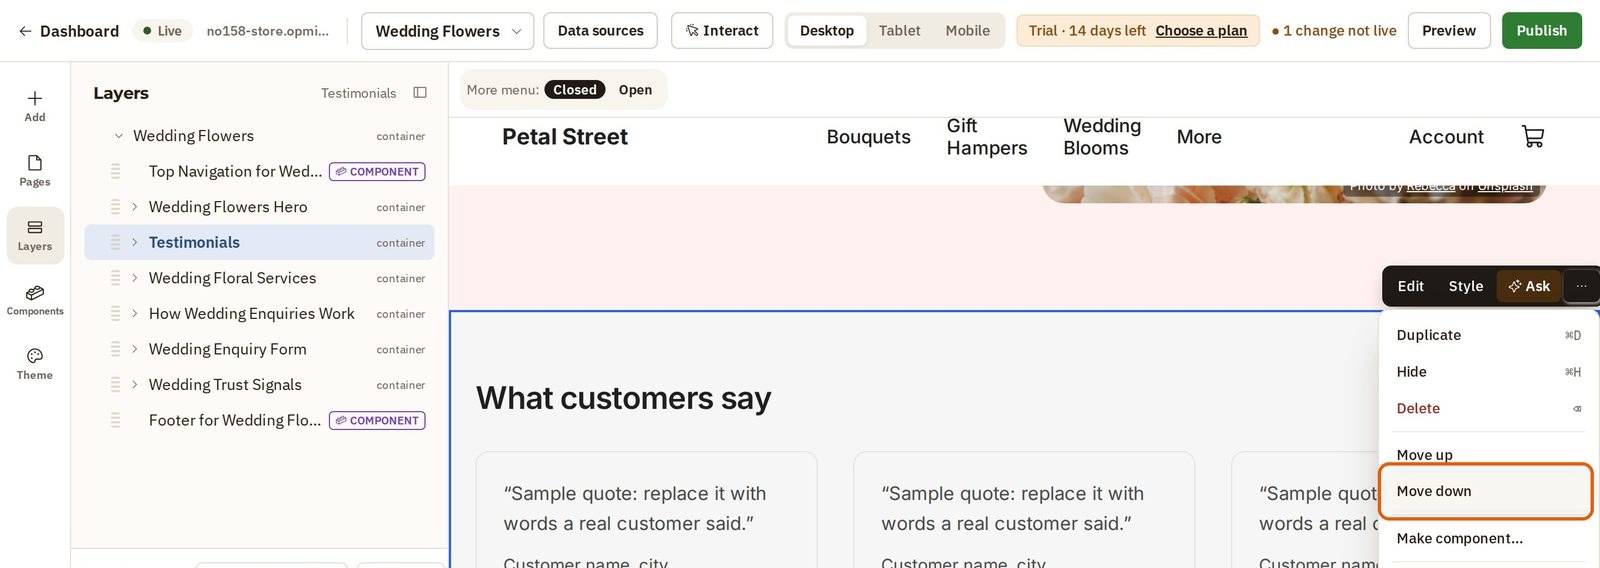
The section is now below Wedding Floral Services, both in the Layers list and on the page.
Remove a section
- Select the section you don't need. Here it is Wedding Trust Signals.
- Press the three dots (⋯) again, and choose Delete.
- Your browser asks "Do you really want to delete…?" with the section's name. Press OK, and the section is gone.
Check it before anyone sees it
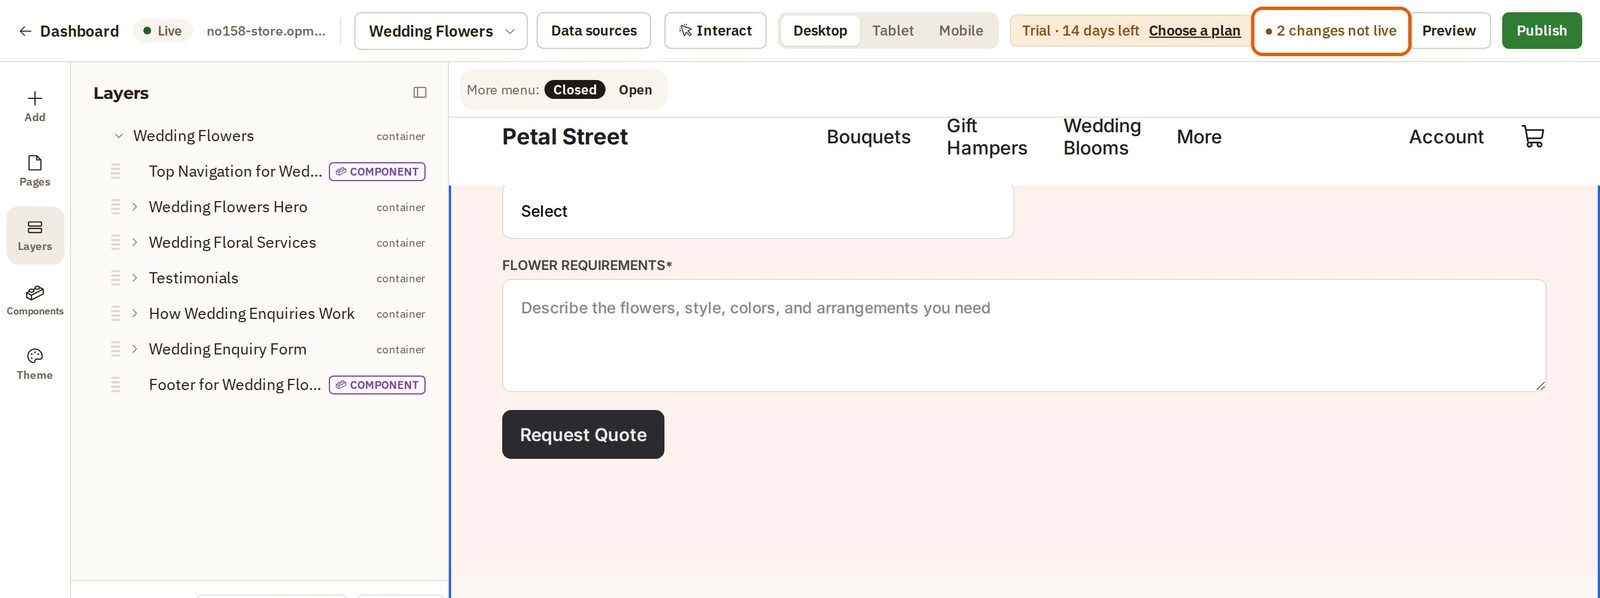
All of this is in your draft. The top bar counts your changes, for example 2 changes not live. Your visitors still see the last version you published.
- Press Preview. Your site opens at its home page, as a visitor would see it, with your draft changes in it.
- To see the page you changed, open More in your site's menu and go to that page.
- Once you have put in your real quotes, press Publish to take the changes live.
Was this tutorial helpful?
‹ Previous
Connect your own domainIN THIS TUTORIAL
AI websites with native commerce. Pages, blog, store, payments and GST invoices in one place, built from a short description.
Start free for 14 days →© 2026 Opmiz · WriterBabu Online Services Private Limited. All rights reserved.
Prices in INR, before 18% GST · Made in Patna, India